TL;DR:
- Regular roof assessments in South Florida help prevent costly storm damage and extend shingle life.
- Safety gear, attic checks, and documentation are vital for effective DIY roof inspections.
- Combining annual self-assessments with professional inspections every few years optimizes roof longevity.
Your neighbor's storm repair bill hit $14,000 last season. A routine roof assessment six months earlier could have caught the curled shingles and failing flashing that let water in. South Florida homeowners face shingle lifespans shortened by heat, humidity, and hurricane-force winds, making proactive inspections one of the smartest financial moves you can make. In this guide, we walk you through exactly what you need, a clear step-by-step process, common mistakes to avoid, and how to act on what you find, so you protect your home and your wallet before the next storm arrives.
Table of Contents
- What you need before starting your roof assessment
- Step-by-step roof assessment process for South Florida homes
- Troubleshooting and avoiding common mistakes in your assessment
- Interpreting assessment results and planning next steps
- Our expert take: What most guides miss about shingle roof assessments in South Florida
- Take the next step: Protect your shingle roof and your wallet
- Frequently asked questions
Key Takeaways
| Point | Details |
|---|---|
| Assessment saves money | Regular roof assessments prevent costly emergency repairs and extend shingle roof lifespan. |
| DIY with caution | Homeowners can do basic inspections but should use pros for hard-to-spot or risky issues. |
| Act early | Early action based on assessments helps avoid major storm damage and high costs. |
| Florida needs extra care | South Florida’s weather accelerates roof wear, so frequent assessments are crucial. |
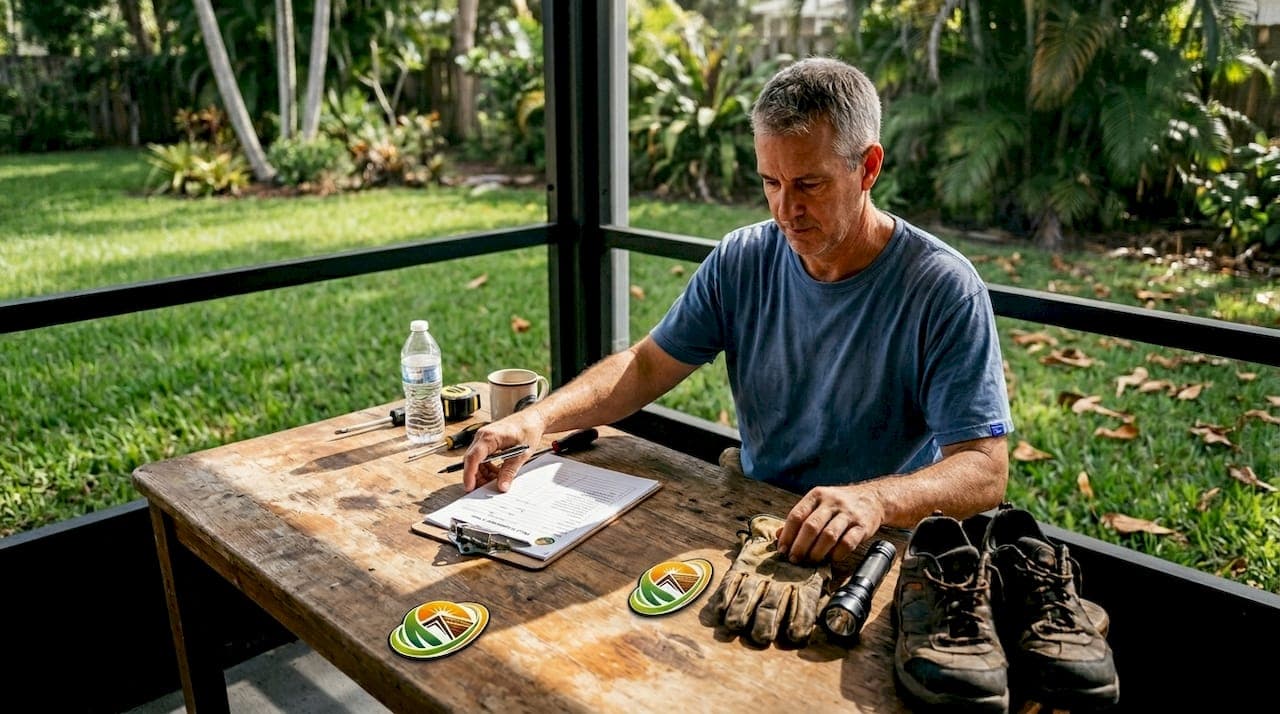
What you need before starting your roof assessment
Now that you understand the importance of regular roof assessments, let's review what you'll need to get started safely and effectively.
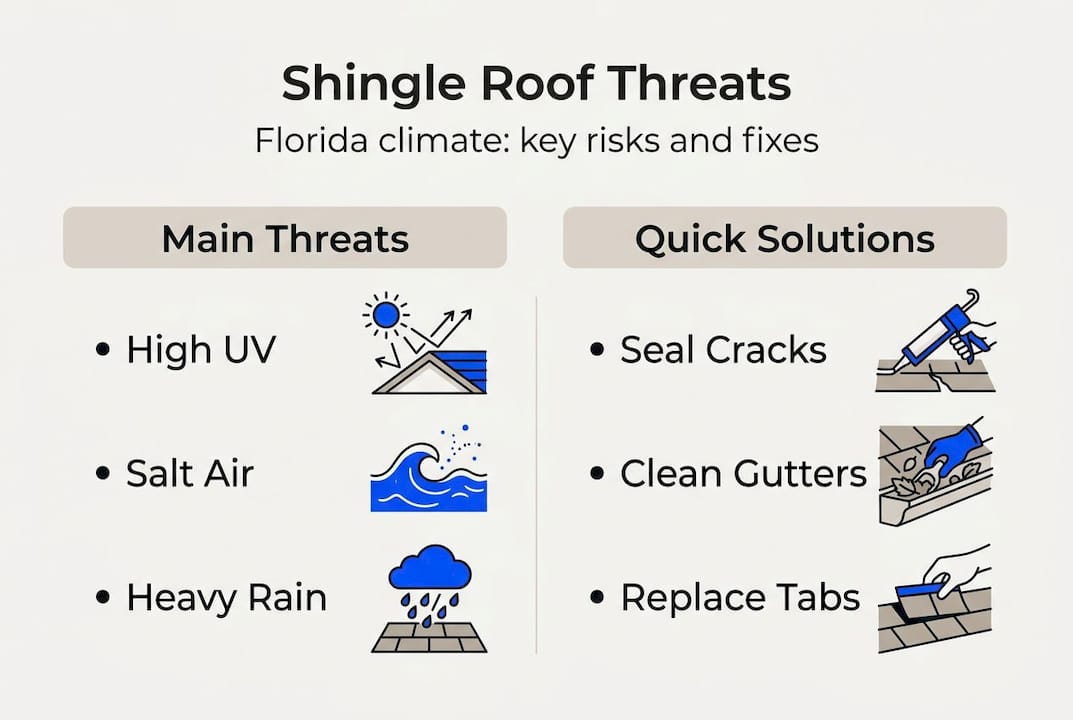
South Florida's climate is tough on roofs. High UV exposure, salt air, and relentless humidity mean shingle roofs can fail well before the standard 20 to 30 year mark. Going up there unprepared wastes time and creates real safety risks. Use this checklist before you begin.
| Item | Purpose |
|---|---|
| Extension ladder (rated 300 lbs) | Safe roof access |
| Non-slip rubber sole shoes | Grip on sloped surfaces |
| Work gloves | Hand protection from sharp edges |
| Binoculars | Viewing steep or high areas safely |
| Camera or smartphone | Documenting conditions |
| Flashlight | Attic inspection |
| Notepad or inspection app | Recording findings |
| Roof inspection checklist | Staying organized |
Before you climb, confirm these conditions:
- Weather: Check the forecast. Never inspect a wet or damp roof.
- Ladder placement: Set it on firm, level ground with someone holding the base.
- Never work alone: A second person is essential for safety and for handing tools.
- Time of day: Morning is best. Midday heat makes surfaces dangerously hot.
- Footwear check: Test your grip before stepping onto the surface.
For a more detailed pre-inspection walkthrough, review our roof inspection checklist before you start. Also factor in gutter maintenance tips specific to Florida homes, since clogged gutters accelerate shingle deterioration at the eaves.
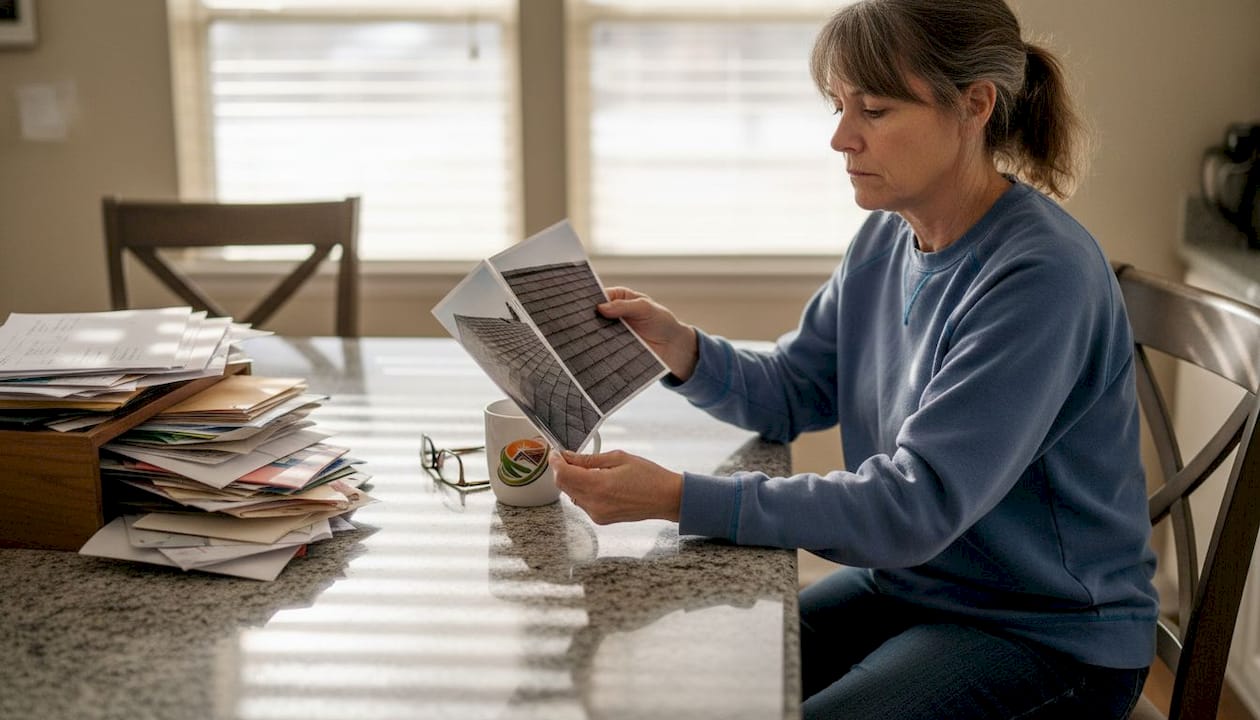
Pro Tip: Photograph every section of your roof before and after the inspection. These images are invaluable for insurance claims and for tracking changes year over year.
Quality gloves matter because shingle edges and exposed nails can cause cuts. Non-slip shoes are not optional on a pitched Florida roof. And having a second person is not just about safety; it means someone can call for help if something goes wrong.
Step-by-step roof assessment process for South Florida homes
With tools and safety preparations in place, follow this proven step-by-step process for a thorough roof check.
Florida's climate stressors cause premature aging and storm-related damage that can be invisible from the ground. Work through these steps in order and document everything.
- Inspect the attic first. Look for water stains, mold, daylight coming through, or soft spots on the decking. Attic clues often reveal leaks before they show outside.
- Check the gutters and downspouts. Granule buildup in gutters signals shingle wear. Blockages cause water to back up under the eaves.
- Scan all shingles from the ground. Use binoculars to spot missing, cracked, curled, or blistered shingles without putting yourself at risk.
- Inspect flashing around chimneys, vents, and skylights. Flashing failures are one of the top causes of leaks in South Florida homes.
- Check vent boots and pipe collars. Rubber boots crack in UV heat. Even small gaps let water in during heavy rain.
- Walk the roof surface carefully. Feel for soft spots that indicate rotted decking beneath. Look for moss, algae, or lichen growth, all common in humid South Florida conditions.
- Examine ridge caps and hip shingles. These high-wind areas take the most beating during storms.
- Document every finding with photos and notes. Date each image and note the location on the roof.
For a deeper look at storm-related findings, our Florida roof damage workflow walks you through next steps. You can also learn more about how climate impact on shingles affects what you find during your inspection.
| Factor | DIY assessment | Professional inspection |
|---|---|---|
| Cost | Free to $50 (tools) | $150 to $400 |
| Time required | 2 to 4 hours | 1 to 2 hours |
| Thoroughness | Moderate | High |
| Hidden damage detection | Limited | Strong |
| Documentation | Self-managed | Written report |
| Best for | Routine monitoring | Pre-sale, post-storm, or complex issues |
Pro Tip: Use binoculars for steep or high sections instead of climbing. Your safety is worth more than a closer look.
Troubleshooting and avoiding common mistakes in your assessment
Even with a thorough process, homeowners can face pitfalls. Let's guard against the most common mistakes and troubleshoot tricky areas.
Many homeowners complete an inspection and still miss serious problems. Here are the errors we see most often:
- Inspecting only from the ground. Binoculars help, but they cannot replace a hands-on check of flashing and vent boots.
- Skipping the attic. The attic reveals leaks, moisture damage, and decking problems that are invisible from outside.
- Ignoring vent boots and pipe collars. These small components fail quietly and cause major water intrusion.
- Overlooking algae and moss. In South Florida's humidity, biological growth traps moisture and accelerates shingle breakdown.
- Not checking after every major storm. A single hurricane or heavy rain event can create damage that was not there before.
- Failing to document. Without photos, you have no baseline for comparison and no evidence for insurance.
Missed damage adds up fast. DIY inspections can miss subtle leaks or early storm damage that quietly escalate into repair bills of $2,000 to $7,000 or more. In Florida, where labor costs are high and storm seasons are long, overlooked problems rarely stay small.
When your findings are unclear, do not guess. Take clear photos and compare them to your previous inspection images. If you see active staining, soft decking, or multiple failing components, that is the moment to call a professional. Understanding the full roof restoration benefits can help you decide whether restoration is a smarter path than waiting for a bigger problem.
For guidance on keeping drainage systems in shape, gutter protection advice for Florida homes is a practical companion resource.
Pro Tip: Schedule a qualified inspector before storm season starts each year. The cost is small compared to what a missed problem can become after a single bad storm.
Interpreting assessment results and planning next steps
Once you've completed the assessment, it's time to put your findings into action and make informed choices about maintenance or repairs.
Not every finding requires the same response. Sort what you found into three categories:
Normal wear: Minor granule loss, slight surface fading, or a single lifted shingle tab. Monitor these at your next inspection.
Repair now: Missing shingles, cracked flashing, clogged gutters, or visible algae growth. These are manageable fixes that prevent bigger problems.
Professional restoration needed: Widespread curling, multiple leaks, soft decking, or shingles that are brittle and crumbling. These signs mean your roof needs expert evaluation.
Here is how to decide between DIY and professional help:
- DIY is reasonable when: The issue is isolated, you can safely access the area, and the fix is straightforward (re-sealing a lifted shingle, clearing gutters).
- Call a pro when: You find active leaks, widespread shingle failure, flashing separation, or any damage after a named storm.
- Consider restoration when: Your roof is 10 to 20 years old and showing multiple signs of wear but has not yet failed completely.
Here is the financial reality: shingle roofs in Florida often last only 15 to 20 years, and major repairs typically run $2,000 to $7,000, while full replacement starts at $12,000 and can exceed $20,000. Acting early on findings is the most cost-effective move you can make.
Create a simple action plan from your notes. List each finding, assign a priority level, and set a timeline. Keep this document with your home records. It supports insurance claims, helps during resale, and gives you a clear picture of your roof's health over time. For a direct comparison of your options, our restore vs replace guide lays out the numbers clearly.
Our expert take: What most guides miss about shingle roof assessments in South Florida
Most checklist guides treat a roof inspection like a one-time event. Check the boxes, file the notes, move on. But in South Florida, that approach leaves homeowners exposed.
The real danger is cumulative damage. Even small leaks or minor shingle curling can compound quickly in Florida's climate, where heat, moisture, and storm cycles never really stop. A tiny gap in a vent boot in April becomes a water-stained ceiling by August.
What we have seen working with homeowners across Palm Beach and Broward counties is that the ones who avoid costly replacements are not the ones who react fastest after a storm. They are the ones who track their roof's condition consistently, year after year. A photo log started today gives you a powerful comparison tool in three years.
Our honest recommendation: do not rely solely on a DIY checklist. Pair your annual self-assessment with a professional check every two to three years, and immediately after any named storm. Learn more about the specific Florida shingle climate risks that make this region different from anywhere else in the country.
The real secret to affordable shingle longevity is not finding problems faster. It is preventing them from growing in the first place.
Take the next step: Protect your shingle roof and your wallet
Ready to turn knowledge into long-term savings? Here's how local experts can help you take confident action.
A thorough roof assessment saves you money, extends your shingle roof's life, and keeps you out of the emergency replacement lane. But knowing what to look for is only half the equation. Acting on it with the right team makes all the difference.
At Shingle Roof Renewal, we specialize in certified shingle roof renewal for South Florida homeowners. Whether you are in Palm Beach, Broward, or looking for shingle roof renewal in Boca Raton, our team is ready to assess your roof and recommend the most cost-effective path forward. Explore our full range of renewal services in South Florida and get started with a free consultation today.
Frequently asked questions
How often should I assess my shingle roof in South Florida?
Assess your roof at least once a year and after every major storm. Florida's harsh climate shortens shingle lifespan, making frequent checks essential for catching problems early.
What are early warning signs that my roof needs attention?
Look for missing, cracked, or curled shingles, water stains in your attic, and visible mold or moss. These signs of shingle distress are especially common in humid South Florida conditions.
Is roof restoration cheaper than replacement in Florida?
Yes. Restoration costs a fraction of full replacement, which typically starts at $12,000 and can exceed $20,000, making early intervention the smarter financial choice.
Can I assess my own roof, or do I need a pro?
Many homeowners can handle a basic assessment, but professionals are essential for catching hidden damage. DIY inspections may miss subtle but costly issues that only a trained eye can detect.
Recommended
- Roof inspection checklist: save money, extend shingle life
- Top reasons to restore your roof instead of replace it
- Shingle Roof Renewal | Certified Fresh Roof Applicator | South Florida
- Shingle Roof Renewal | Certified Fresh Roof Applicator | South Florida
- How to repair your storm damaged roof: step-by-step guide
- Maintain Seamless Gutters: Add 10+ Years to Lifespan