

Homeowners can catch most roof problems early using a short, repeatable roof evaluation checklist that covers the ground perimeter, gutters, and attic — no ladder required for the most valuable checks. A complete DIY inspection takes 45–90 minutes and should be run twice a year (spring and fall) and after any major storm. Here is the compact checklist you can use right now:
Ground-level walk-around:
- Walk the full perimeter and scan the roofline for sagging or uneven ridgelines
- Look for missing, curling, or cracked shingles on every slope
- Check gutters and downspouts for granule buildup (dark, sand-like grit)
- Spot moss, algae (dark streaking), or lichen on the surface
- Look for overhanging branches within 6–10 feet of the roofline
- Note any visible flashing gaps at chimneys, vents, or skylights
Attic check (flashlight required):
- Look for daylight visible through the sheathing
- Check rafters and decking for water stains or soft spots
- Feel insulation for dampness or compression
- Smell for mold or musty odor
- Confirm soffit vents are not blocked by insulation
Gutters and drainage:
- Clear debris from gutters and check that downspouts drain away from the foundation
- Photograph any granule accumulation at the downspout outlet
What a DIY check will and won't do: Ground and attic inspections reliably surface aging signs, ventilation problems, and early moisture intrusion. They won't replace a close-up assessment of flashing sealant condition, nail pops, or soft decking — those require a professional.
Pro Tip: A complete DIY inspection takes 45–90 minutes and can be done with binoculars (8x42 or 10x42) and a flashlight, covering nearly the entire evaluation from the ground and attic. After each inspection, drop your photos into a dated folder on your phone — that photo log becomes your best evidence for insurance claims and professional estimates.
Table of Contents
- Why regular roof inspections matter more than most homeowners realize
- How often should you run the checklist?
- Safety rules and tools to prepare before you inspect
- Exterior ground-level checklist: what you can see without a ladder
- Exterior on-roof checklist: closer checks when it's safe to climb
- Interior checklist: what your attic reveals before the ceiling does
- Signs that point to repair vs signs that point to replacement
- When to call a professional inspector and what to expect
- Seasonal maintenance checklist: what to do each time of year
- Quick decision guide: repair, preservation, or replacement?
- Your printable one-page checklist to use today
- Expert tips, common mistakes, and how preservation can extend shingle life
- Key Takeaways
- Why we recommend inspection and preservation before replacement
- Find out if your roof qualifies for a free preservation assessment
- Useful sources and further reading
Why regular roof inspections matter more than most homeowners realize
Inspections catch interior-first failures before a single water stain appears on your ceiling. By the time water is visible inside your home, significant damage has often already occurred to the roof deck, insulation, and framing. The roof fails from the inside out, and the ceiling stain is the last sign, not the first.
The three most common failure modes inspections catch early are granule loss (which signals binder exhaustion), flashing failure at chimneys and vent boots, and attic ventilation problems that quietly cook shingles from below. None of these announce themselves with a drip.
"Roofing experts warn that 'no visible leak' is not a reliable indicator of roof health. Early preservation often saves far more than reactive replacement." — The Roofing Brief
Proactive maintenance commonly adds 5–10 years to a roof's life when repairs are caught while they still cost a few hundred dollars rather than a few thousand. That gap between a minor repair and a full replacement is where documentation earns its value. Dated photos and written notes give you a condition baseline that supports insurance claims, warranty discussions, and the repair-vs-replace decision when a professional arrives.
How often should you run the checklist?
Inspect twice a year and after every major storm. Spring and fall are the priority windows. Professional inspections are recommended every 2–3 years, moving to annually once your roof reaches 15 years of age.
Here is a simple schedule to follow:
- Spring (March–April): Check for winter damage — lifted tabs, ice dam staining in the attic, debris in gutters. Clear gutters before spring rains arrive.
- Fall (October–November): Clear leaves from gutters and valleys, trim overhanging branches before storm season, and confirm attic ventilation is unobstructed heading into winter.
- After any major storm: Run the full ground-level checklist within 48 hours. Look specifically for missing shingles, displaced flashing, and new granule deposits at downspouts.
- Before buying or selling: Schedule a professional inspection regardless of roof age — condition documentation protects both parties.
- After HVAC or antenna work on the roof: Any trade that accesses the roof can displace flashing or crack shingles. A quick ground check after the visit costs nothing.
- At 15 years: Switch from every 2–3 years for professional inspections to annual. Shingle binders degrade faster after this threshold, especially in high-UV climates like South Florida.
Safety rules and tools to prepare before you inspect
Do most checks from the ground and the attic. Nearly 90% of a meaningful roof evaluation can be completed safely from the ground using binoculars or a high-zoom smartphone camera. Climbing adds fall risk and gives little additional information for routine monitoring.
Essential tools:
- Binoculars (8x42 or 10x42) or a smartphone with optical zoom
- Flashlight or headlamp for the attic
- Non-slip shoes if you do use a ladder
- Work gloves for attic access
- A notepad or phone notes app for quick observations
Safety rules before you climb anything:
Never climb onto a wet, icy, or steep roof. If the pitch looks steep from the ground, it is steeper than it feels once you are up there. A spotter at the base of the ladder is not optional — it is the minimum safe setup.
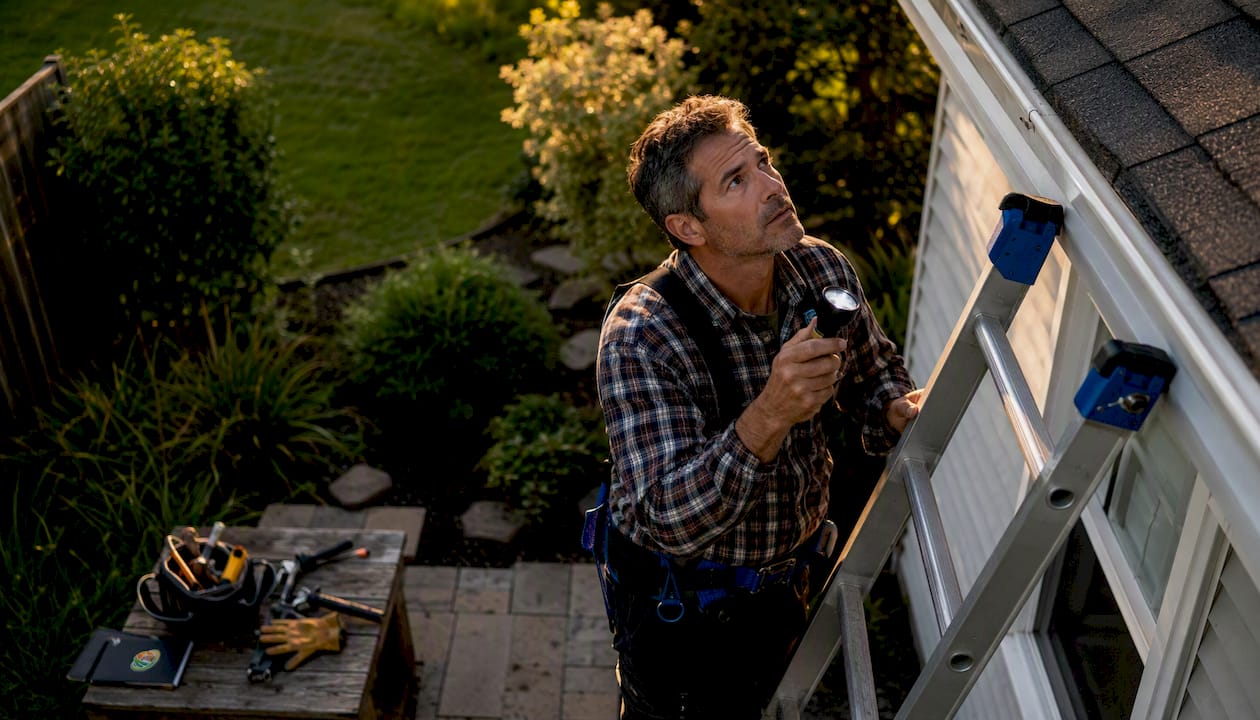
Use a ladder only to access the attic hatch or to get a closer look at a low eave. Keep both feet on the ladder and do not lean past the rails. If you find a soft spot underfoot, stop immediately and get down. That is a structural concern, not a DIY fix.
Pro Tip: Before you start, set up a simple photo-log template on your phone: one folder per inspection date, labeled by season and year (e.g., "Spring 2026"). Take a wide shot of each slope, a close-up of any damage, and a downspout granule shot. Three photos per slope takes under five minutes and gives you a year-over-year record that a professional can read remotely.
Exterior ground-level checklist: what you can see without a ladder
Walk slowly around the full perimeter. Use binoculars for anything above the first-floor eave. Here is what to look for and what each finding typically means:
- Missing or displaced shingles: Storm damage or fastener failure. Repair promptly — exposed decking deteriorates fast.
- Curling tabs (cupping or clawing): Aging binder or moisture imbalance. Widespread curling across a slope is a systemic sign, not an isolated repair.
- Cracked or broken shingles: UV degradation or impact damage. A few cracked tabs are repairable; cracking across multiple slopes suggests the shingles are past their service life.
- Granule deposits at downspouts: Granule loss is a clear sign of asphalt binder exhaustion and often precedes systemic failure. A small amount is normal; a thick layer or bald patches on shingles is not.
- Sagging roofline or ridge: Structural concern. Do not delay — call a professional.
- Moss or algae (dark streaking): Moisture retention that accelerates shingle decay. Treatable early; left alone, it shortens shingle life.
- Visible flashing gaps at chimney, vents, or skylights: A leading cause of leaks. Even a small gap in step flashing or a cracked vent boot lets water in.
- Overhanging branches: Branches within 6–10 feet of the roofline deposit debris, retain moisture, and can puncture shingles in wind.
- Debris in valleys: Leaves and debris trap moisture in the most water-channeling part of the roof. Clear them every fall.
Photo guidance: Take one wide shot of each slope from a corner angle, one close-up of any damage, and one shot of each downspout outlet showing granule accumulation. Label each photo with the date and compass direction (e.g., "North slope, May 2026"). This labeling makes year-over-year comparison straightforward and helps a pro diagnose condition remotely.
Exterior on-roof checklist: closer checks when it's safe to climb
Only perform these checks when the roof is completely dry, the pitch is walkable, you have a stable ladder setup, and you are comfortable with heights. If any of those conditions are not met, skip this section and hire a professional.
When you can safely access the surface, check these higher-value items:
Flashing failure is one of the most common sources of roof leaks. Inspect chimney, vent pipe boots, skylight, and valley flashing twice a year — these joints fail before the shingles around them do.
- Nail pops: Fasteners backing out of the deck create small entry points for water. Reseat and seal them early.
- Ridge cap condition: Lifted or cracked ridge caps expose the peak to wind-driven rain.
- Valley integrity: Look for worn shingles, exposed metal, or debris buildup in the valleys where two slopes meet.
- Sealant at flashing joints: Cracked or missing sealant at chimney step flashing, skylight curbs, and vent boots is a repair, not a replacement trigger.
- Drip edge: Bent, missing, or rusted drip edge at the eaves lets water wick behind the fascia.
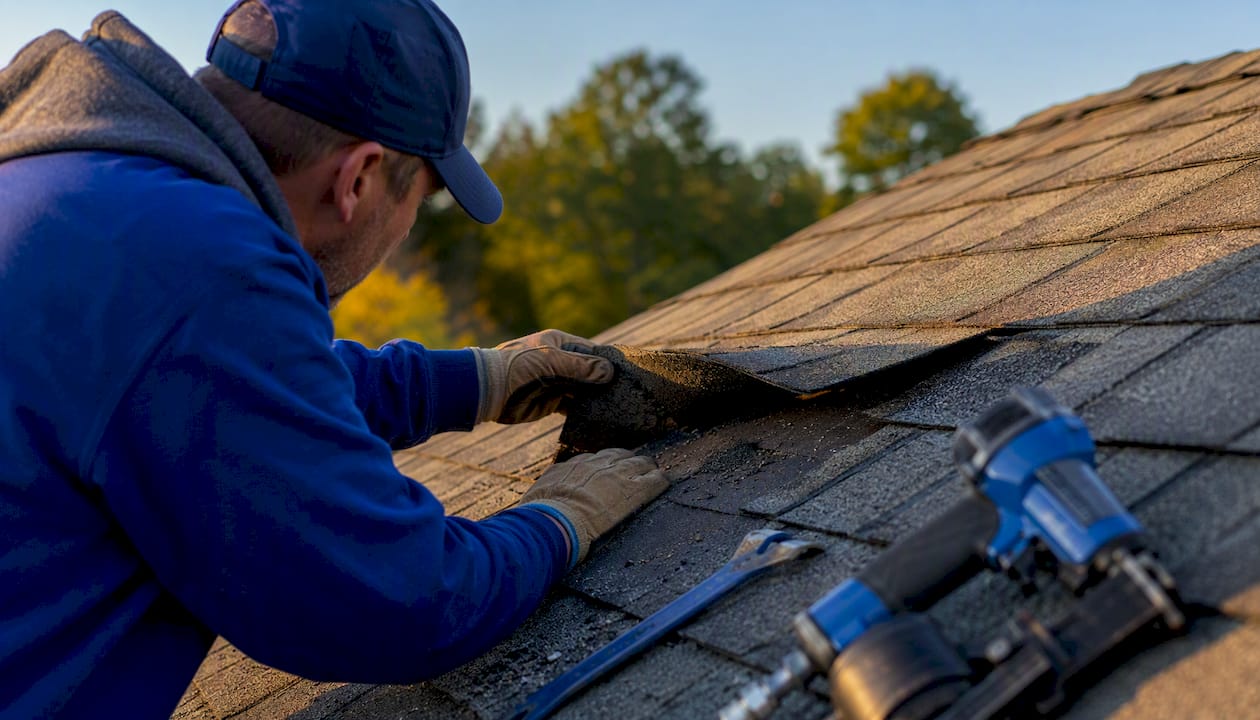
- Soft spots underfoot: If a section of decking feels spongy, stop walking. Soft decking means moisture has compromised the structural layer beneath the shingles.
When to stop and call a professional: A single soft spot, widespread tab lifting across more than one slope, or any visible structural sag means the job has moved beyond DIY territory. Get off the roof and schedule a professional inspection before the next rain event.
Interior checklist: what your attic reveals before the ceiling does
Attic checks frequently surface leaks, deck pinholes, and ventilation failures before any ceiling stain appears. This is the most underused part of a home roof maintenance checklist, and it costs nothing but a flashlight and 15 minutes.
- Daylight through sheathing: Any pinhole of light means a gap in the deck. Mark the location with chalk and photograph it.
- Water stains on rafters or sheathing: Follow stains uphill from where you see them — the actual entry point is usually higher than the stain.
- Damp or compressed insulation: Wet insulation loses its thermal value and harbors mold. Press it gently; compression or clumping indicates past or ongoing moisture.
- Mold or musty odor: A musty smell without visible staining often means moisture has been present long enough to grow mold inside the insulation or on the sheathing.
- Condensation on roofing nails: Frost or rust on nail tips in winter indicates warm, moist air is escaping from the living space into the attic. This is a ventilation problem.
- Blocked soffit bays: Poor attic ventilation accelerates shingle aging by trapping heat. Push insulation back from soffit bays and confirm air flows freely from intake to ridge vent.
Diagnostic tip: If you find a stain on a rafter, trace it toward the peak and look for a corresponding nail, pipe boot, or flashing joint above it. Most attic leaks trace back to a penetration, not a field shingle failure. Note the location (e.g., "north slope, 4 feet from ridge, near vent pipe"), photograph it, and bring that note to your professional inspection.
Signs that point to repair vs signs that point to replacement
Isolated damage means repair. Widespread, systemic deterioration means it is time for a replacement conversation.
Repair is likely the right call when:
- One or a few shingles are missing or cracked after a storm
- A single flashing joint has failed or a vent boot is cracked
- Granule loss is limited to one small area
- The roof is under 15 years old with no history of repeated leaks
Replacement is worth discussing when:
- Gutters are consistently full of granules after rain, indicating binder exhaustion across the field
- Tabs are lifting or curling on the majority of a slope
- The roof has exceeded its manufacturer warranty life
- You have had two or more leaks in the same area within 12 months
- The roofline shows visible sagging
The most common false positive is cosmetic weathering. Shingles that look faded or lightly streaked from algae are not necessarily failing. Widespread tab lifting and granule loss are the systemic signs that predict failure — not surface discoloration alone. Replacing a roof for cosmetic reasons when the binder is still sound is an expensive mistake.
"Shingle age is better judged by binder condition — granule loss, brittleness, curling — than by counting missing shingles. Widespread binder exhaustion predicts systemic failure even when only a few tabs are visibly missing." — The Roofing Brief
Pro Tip: Before calling a roofer, photograph every slope, the gutters, and the attic. Note the roof's age and any past repairs. That package lets a professional give you a precise repair-vs-replace estimate in a single visit rather than a ballpark guess.
When to call a professional inspector and what to expect
Call a professional when you find structural sag, widespread granule loss, repeated leaks, soft decking, or when you are buying or selling the home. These are not DIY decisions.
Trigger points for a professional inspection:
- Any soft spot on the roof deck
- Active or recurring leaks
- Sagging ridge or roofline
- Granule loss visible across multiple slopes
- Roof age of 15+ years with no recent professional assessment
- Pre-purchase or pre-sale due diligence
What a professional inspection typically includes:
- Close-up assessment of all slopes, ridges, valleys, and penetrations
- Attic inspection with moisture testing
- Flashing condition check at all joints
- Photo documentation of every finding
- Written condition report with prioritized repair list and cost ranges
- Estimated remaining service life
- Preservation qualification assessment (where applicable)
What to request from your inspector:
- A written report with photos, not just a verbal summary
- Estimated remaining service life
- A clear repair-vs-replace recommendation with reasoning
- Confirmation of whether the roof qualifies for preservation treatment
How to choose an inspector:
- Verify licensing and insurance in your state
- Ask for a sample report before booking
- Confirm they inspect the attic, not just the surface
- Check references or verified reviews
For a deeper look at how a professional roof assessment can extend shingle life and inform your next steps, the Shingleroofrenewal blog covers the full process.
Seasonal maintenance checklist: what to do each time of year
A short set of repeatable seasonal tasks protects the roof and prevents costly failure. Spring and fall are the priority windows.
| Season | Task | Frequency | DIY or Pro | Primary Benefit |
|---|---|---|---|---|
| Spring | Inspect for winter damage (lifted tabs, attic stains) | Annually | DIY | Catch storm damage early |
| Spring | Clear gutters and downspouts | Twice yearly | DIY | Prevent water backup and fascia rot |
| Summer | Check for blistering shingles and attic heat buildup | Annually | DIY | Identify ventilation failure |
| Summer | Confirm ridge and soffit vents are unobstructed | Annually | DIY | Extend shingle life |
| Fall | Remove leaves from gutters and roof valleys | Twice yearly | DIY | Prevent moisture retention |
| Fall | Trim branches to 6–10 feet from roofline | Annually | DIY/Pro | Reduce impact and debris risk |
| Winter | Watch for ice dams at eaves (northern climates) | As needed | Pro if severe | Prevent water intrusion at eaves |
| Year-round | Document condition with dated photos | Each inspection | DIY | Insurance and estimate support |
| Every 2–3 years | Schedule professional inspection | Per age/condition | Pro | Catch what ground checks miss |
Quick decision guide: repair, preservation, or replacement?
Short repairs typically take hours to a day and cost in the low hundreds to low thousands of dollars. Preservation treatments take days and cost significantly less than full replacement. Full replacement takes weeks and carries the highest cost.
| Option | Typical Scenario | Approximate Timeline | Relative Cost |
|---|---|---|---|
| Repair | Isolated missing shingles, single flashing failure, cracked vent boot | Hours to 1 day | Low hundreds to low thousands |
| Preservation | Aging shingles with binder loss, early curling, no structural damage | 1–3 days | Mid-range; often 50–80% less than replacement |
| Replacement | Widespread systemic failure, soft decking, repeated leaks, end of service life | 1–3 weeks | Full replacement cost |
How fast to act: An active leak or soft decking requires action within days, not weeks. Widespread binder exhaustion without active leaks gives you a planning window of one to two seasons. Cosmetic weathering alone is not a timing trigger.
Regional costs vary. South Florida's UV intensity and storm frequency accelerate shingle aging compared to northern climates, which affects both the urgency and the cost of intervention. Documented photos speed up every estimate — a contractor who can review your photo log before arriving gives a more accurate bid in less time. For a detailed look at cost-effective shingle preservation options, Shingleroofrenewal's guide walks through the full comparison.
Your printable one-page checklist to use today
Carry this on your phone or print it before you walk the property.
Ground perimeter (binoculars recommended):
- Walk full perimeter; scan all slopes for missing, curling, or cracked shingles
- Check roofline and ridge for sagging or unevenness
- Look for moss, algae streaking, or lichen
- Inspect visible flashing at chimney, vents, and skylights
- Note overhanging branches within 6–10 feet of the roof
- Photo prompt: wide shot of each slope from a corner angle
Gutters and downspouts:
- Clear debris from gutters
- Check downspout outlets for granule accumulation
- Confirm downspouts drain away from the foundation
- Photo prompt: downspout outlet showing any granule deposit
Attic (flashlight required):
- Look for daylight through sheathing
- Check rafters and decking for stains or soft areas
- Feel insulation for dampness or compression
- Smell for mold or musty odor
- Confirm soffit bays are not blocked by insulation
- Photo prompt: any stain or daylight pinhole with location note
Photo log:
- Label each photo: slope direction + date (e.g., "South slope, Fall 2026")
- Save to a dated folder: "Roof Inspection — [Season Year]"
- Compare to previous inspection folder for year-over-year changes
For a post-storm version of this checklist tailored to South Florida conditions, Shingleroofrenewal has a dedicated guide.
Expert tips, common mistakes, and how preservation can extend shingle life
The most common homeowner mistake is assuming "no visible leak" means "no problem." Roofs fail from the inside out, and by the time water reaches your ceiling, the damage is already expensive.
A second mistake is confusing cosmetic weathering with systemic failure. Faded color and light surface staining are normal. Widespread granule loss, brittle tabs that crack when flexed, and curling across a full slope are signs of binder exhaustion — the asphalt compound that holds granules in place and keeps shingles flexible has degraded. That distinction matters because cosmetic weathering does not justify replacement, while binder exhaustion does.
Attic ventilation is the most overlooked factor in shingle longevity. Ventilation failures trap heat and accelerate granule loss and cracking from below, shortening shingle life years before the surface shows obvious damage. Checking that soffit intakes are clear and ridge vents are unobstructed is one of the highest-return maintenance steps a homeowner can take.
"Attic ventilation failures 'cook' shingles from below and are a leading, avoidable cause of premature asphalt shingle failure. Check that soffit intakes are not blocked by insulation and that ridge and exhaust vents are unobstructed." — Roofs Wiki
When binder loss is caught early, preservation treatments can restore shingle flexibility, lock in remaining granules, and extend service life before replacement becomes necessary. Roofs that qualify for preservation typically show early-to-moderate binder loss without structural damage or widespread tab failure. Roofs with soft decking, active leaks through multiple penetrations, or shingles that crumble when touched have passed the preservation window. For South Florida homeowners, the roof rejuvenation guide from Shingleroofrenewal covers eligibility criteria in detail.
Pro Tip: If a roofer quotes full replacement on a roof that has no soft decking and no structural sag, ask specifically whether preservation has been evaluated. Many homeowners replace roofs that still qualify for a fraction of the cost.
Key Takeaways
A repeatable roof evaluation checklist catches most problems early, safely, and at low cost — the key is running it twice a year and documenting what you find.
| Point | Details |
|---|---|
| Inspect twice a year, after storms | Spring and fall checks plus post-storm walk-arounds catch damage before it compounds. |
| Ground and attic checks cover most issues | Nearly 90% of a useful evaluation is possible without climbing the roof. |
| Granule loss signals binder exhaustion | Granule buildup at downspouts is a systemic warning, not a cosmetic issue. |
| Document every inspection with photos | Dated, labeled photos support insurance claims, estimates, and year-over-year comparison. |
| Shingleroofrenewal offers free assessments | For qualifying South Florida roofs, preservation can add 5–10 years to roof life. |
Why we recommend inspection and preservation before replacement
We recommend inspection and preservation first because it preserves value, reduces waste, and often adds years to a roof at a fraction of replacement cost. Preservation is not the same as repair. Repair fixes a specific failure point. Replacement removes everything. Preservation treats the shingle material itself, restoring flexibility and locking in granules before systemic failure sets in. That window, between "aging but functional" and "needs replacement," is exactly where Shingleroofrenewal works.
South Florida's combination of UV intensity, heat, and storm frequency accelerates shingle aging faster than most of the country. Homeowners in Broward and Palm Beach County often face replacement quotes years before their roof has actually failed structurally. Our focus is helping you understand what your roof actually needs, not what is easiest to sell.
Find out if your roof qualifies for a free preservation assessment
Shingleroofrenewal offers a free on-site assessment to determine whether your roof qualifies for preservation and to show you exactly how much you could save compared to full replacement.
The process is straightforward. Schedule the assessment, and we arrive with the tools to inspect your roof and attic, document condition with photos, and give you a written recommendation. If your roof qualifies for preservation using certified Fresh Roof Green Soy Technology, we provide a clear cost comparison against replacement. If it does not qualify, we tell you that honestly and explain why.

Before the visit, pull together your photo log, note your roof's approximate age, and flag any recent storm events or repairs. That information speeds up the assessment and improves the accuracy of our recommendation.
Qualifying roofs can save up to 80% compared to full replacement, backed by a 6-year transferable warranty. Schedule your free roof assessment today and find out where your roof actually stands.
Useful sources and further reading
- NRCIA Roof Inspection Checklist PDF — Industry-standard inspection checklist from the National Roof Certification and Inspection Association; useful for understanding what a professional inspection covers.
- Roofing & Exterior Pros: Homeowner Roof Inspection Checklist — Practical homeowner-focused checklist with safety guidance and step-by-step structure.
- How to Compare Roofing Estimates — Guidance on evaluating professional estimates and avoiding common pitfalls when selecting a contractor.
- IBHS Roofing Guidance — Insurance Institute for Business and Home Safety; research-backed guidance on roof performance and storm resilience.
- Colorado Roofing Association: Maintenance, Repair, and Replacement — Practical overview of maintenance priorities and when to escalate to replacement.
- Asphalt Shingle Roof Maintenance: 5 Essential Tips — Covers inspection cadence, gutter maintenance, moss removal, and ventilation checks for asphalt shingle roofs.
This article provides general homeowner guidance and is not a substitute for a professional roof inspection. Confirm current conditions and recommendations with a licensed roofing professional or certified inspector for your specific property.