TL;DR:
- Homeowners in South Florida need safety gear, measurement, and diagnostic tools to detect roof problems early. Proper tools help avoid costly replacements by identifying hidden damage and supporting maintenance efforts. Regular inspections and well-organized kits enable homeowners to extend roof life and save money.
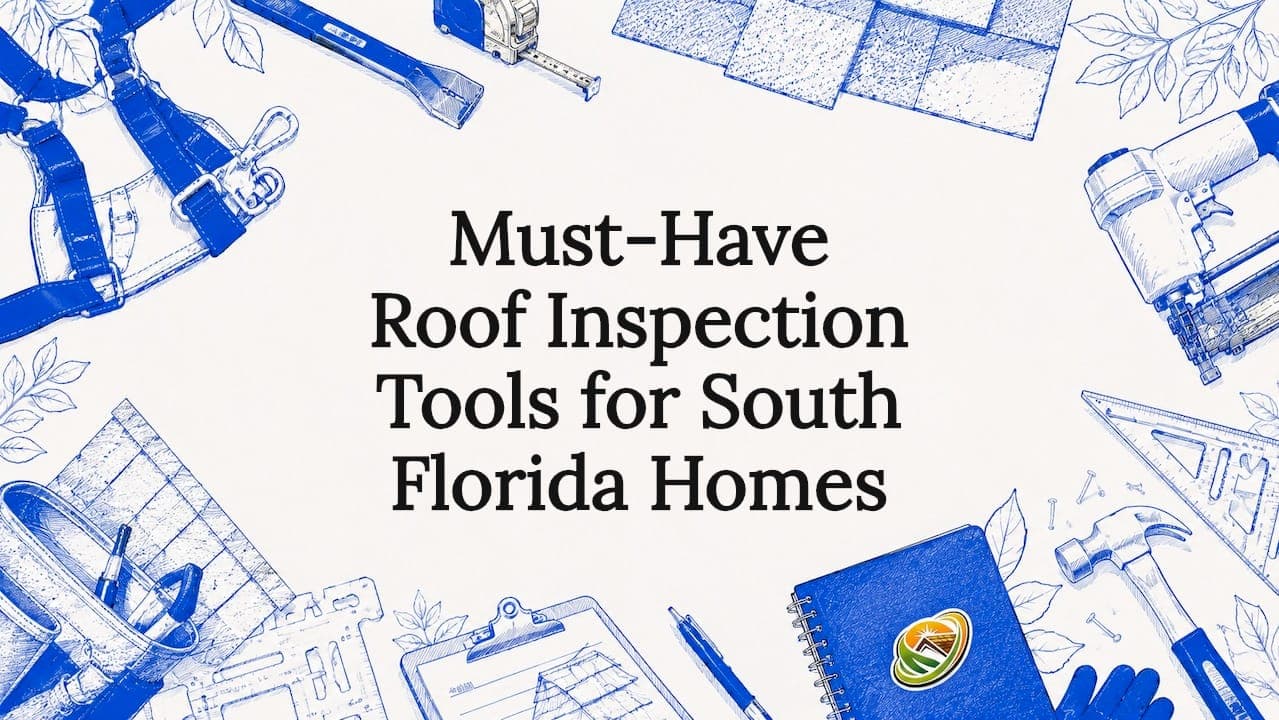
Must-have roof inspection tools are defined as the safety gear, measurement devices, and diagnostic equipment required to accurately assess the condition of a residential roof before making any maintenance or replacement decision. For homeowners in Broward and Palm Beach County, where intense sun, heat, and storm cycles accelerate shingle deterioration, having the right toolkit is the difference between catching a problem early and paying $15,000 to $30,000 for a full replacement. A complete roof inspection checklist starts with safety, moves through measurement, and ends with diagnostics. The industry term for this full set is a roof inspection toolkit, and building one correctly takes less than most homeowners expect.
1. Must-have roof inspection tools: the complete list
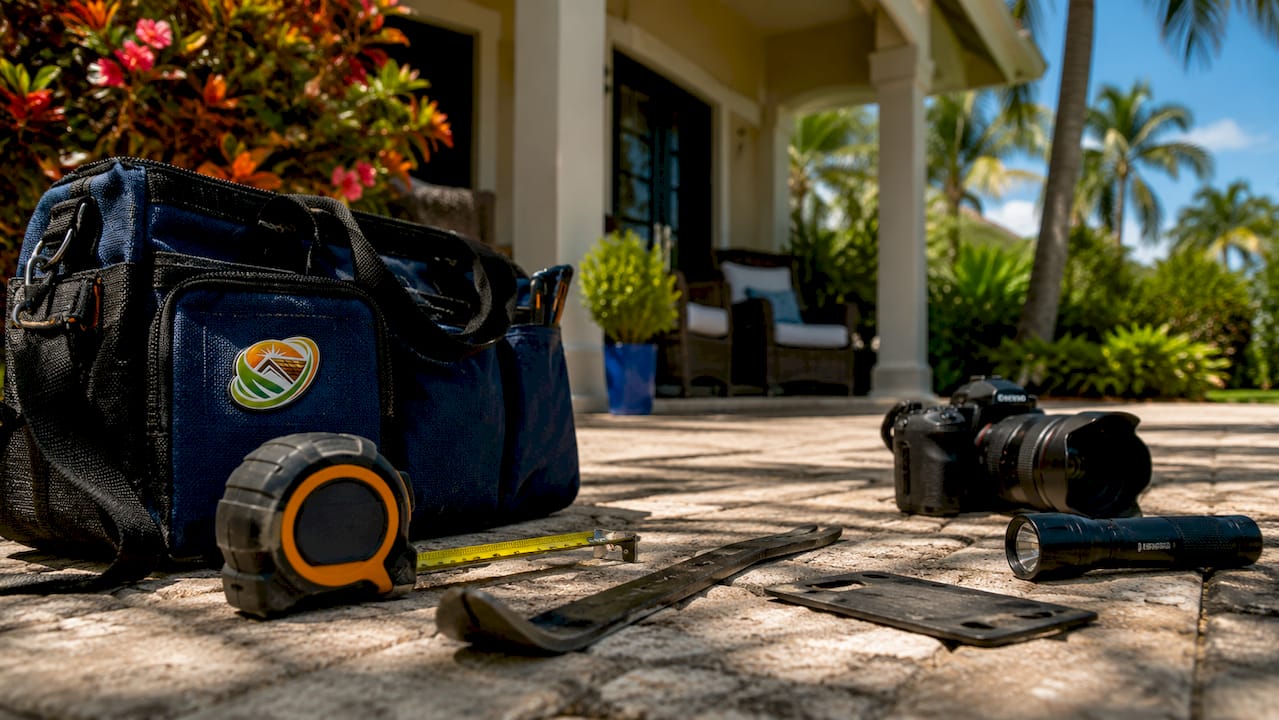
A basic, safe roof inspection toolkit includes a shingle gauge, a 25-foot tape measure, a pry bar, a flashlight or high-resolution camera, and personal protective equipment such as ladder stabilizers and non-slip gloves. That core set covers the five to seven items most homeowners need to conduct a reliable visual inspection. The sections below break each category down in full, from safety gear to advanced diagnostics.
2. Essential safety gear for roof inspections
Fall protection is the first requirement of any roof inspection. Fall protection kits, including roof anchors, harnesses, and lifelines, are vital even for minor inspection work. Many homeowners underestimate the risk posed by South Florida's steep pitches, especially when shingles are dry and brittle from heat exposure.
Your safety kit should include:
- Roof anchor and harness system. A roof anchor bolts to the ridge or a structural rafter. The harness attaches to a lifeline that limits fall distance. Never substitute a rope tied to a vent pipe.
- Ladder stabilizer. A stabilizer keeps the top of the ladder away from the wall and distributes weight evenly. It prevents the ladder from sliding sideways on smooth fascia boards.
- Non-slip footwear. Rubber-soled shoes with a flat tread grip asphalt shingles far better than athletic shoes with raised lugs. Raised lugs catch granules and cause slipping.
- Non-slip gloves. Gloves protect your hands and improve grip on ladder rungs and shingle edges.
- Safety glasses. Debris, granules, and dried algae fall during inspection. Eye protection prevents injury.
Inspect your safety gear before every use. A harness with frayed webbing or a ladder with a bent rail is more dangerous than no equipment at all. South Florida roof safety demands that you treat every inspection like a professional job site.
Pro Tip: Never inspect a roof alone. Have someone on the ground to stabilize the ladder and call for help if needed.
3. Measurement and basic inspection tools every homeowner should own
Accurate measurement tools let you document what you find and communicate it clearly to a contractor or preservation specialist. Without them, you are guessing at dimensions and missing details that affect repair costs.
The core measurement and inspection tools are:
- 25-foot tape measure. Use it to measure ridge length, slope runs, and the size of any damaged sections. Accurate dimensions support repair quotes and material estimates.
- Shingle gauge. A shingle gauge measures remaining granule thickness and wear depth. It gives you a concrete number to track over time and helps approximate where a shingle sits in its service life.
- High-resolution camera or smartphone. Documented inspections support warranty claims and give you a before-and-after record for any maintenance work. Photograph every area of concern from multiple angles.
- Chalk line reel. Mark inspection zones or damaged sections directly on the roof surface. This prevents you from losing track of problem areas when you return to ground level.
- Pry bar. A flat pry bar lifts shingle tabs safely for a closer look at the decking below. Use it carefully to avoid cracking dry shingles.
Gear retainers prevent tools like pry bars and shingle gauges from sliding off the roof. A dropped pry bar from a two-story roof is a serious hazard to anyone below. Using retainer clips or lanyards on every hand tool is a professional best practice that most homeowners skip.
Pro Tip: Label each tool with your name or a bright color of tape. Tools left on a roof are easy to forget and expensive to replace.
4. Advanced diagnostic tools: detecting hidden roof problems
Pinless moisture meters are the industry standard for non-invasive scanning of wood decking and insulation beneath roofing. Non-invasive moisture scanning reveals hidden water damage beneath shingles without destructive removal, saving both repair time and cost. This matters in South Florida, where afternoon thunderstorms drive water into the smallest gaps and saturate decking before any visible stain appears inside the home.
The two most effective diagnostic tools are:
- Pinless moisture meter. Press the sensor pad against the shingle surface or decking. The meter reads moisture content through the material without drilling or cutting. Readings above the normal range for dry wood indicate active or recent water intrusion.
- Infrared thermography camera. An infrared camera maps surface temperature differences across the roof. Wet insulation retains heat longer than dry insulation, so a leak zone shows as a warm patch on a cooling roof after sunset. Compact tech-integrated inspection systems now combine imaging and thermography in a single handheld unit, making this technology accessible to homeowners without professional training.
Using both tools together gives you a complete picture. A visual inspection tells you what you can see. A moisture meter and infrared camera tell you what is happening underneath. That combination prevents the most expensive mistake in roofing: replacing a structurally sound roof because of a surface problem that a preservation treatment could have resolved.
5. Tools and equipment for regular roof maintenance and debris removal
Debris is the silent accelerator of roof deterioration in South Florida. Leaves, pine needles, and organic matter trap moisture against shingles, feed algae and moss growth, and block drainage. Removing debris regularly is one of the highest-return maintenance habits a homeowner can build.
The right maintenance tools make the job safe and effective:
- Roof rake with extended reach. Roof rakes with 21–22 feet of reach let you clear debris from the ground or from a low ladder position, reducing the number of times you need to climb to the peak. Lightweight designs around 5.8 pounds give you enough control to work without fatigue.
- Soft-bristle roof brush. A brush on an extension pole removes algae and light moss without stripping granules. Never use a pressure washer on asphalt shingles. High-pressure water blasts granules loose and shortens shingle life significantly.
- Leaf blower. A battery-powered leaf blower clears dry debris from valleys and gutters quickly. Use it from the ladder rather than walking the roof when possible.
- Utility knife with hook blade. A hook blade cuts roofing felt and shingle tabs cleanly during minor repairs. Keep a spare blade in your kit because dull blades tear rather than cut.
- Caulking gun with roofing sealant. Seal small gaps around flashing, pipe boots, and ridge caps before they become entry points for water. This is the lowest-cost repair in roofing and the one most homeowners delay too long.
Prioritizing maintenance tools over replacement tools yields the best return on investment for roof longevity. Simple debris removal and sealing extend asphalt shingle life and delay the need for costly interventions. The cost-effective roof care principle is straightforward: spend a little now on maintenance, or spend a lot later on replacement.
6. How to choose, organize, and maintain your roof inspection toolkit
Selecting the right tools for asphalt shingle roofs common in South Florida means prioritizing durability and weight. Heavy tools increase fatigue and the risk of dropping something. Tools made from aluminum or fiberglass handles outperform steel in both weight and corrosion resistance, which matters in a humid coastal climate.
Organizing your toolkit for quick access saves time and prevents the frustration of searching for a tool while standing on a ladder. A few practical steps:
- Use a dedicated tool bag or bucket. Keep all inspection tools in one place. A tool bucket with a shoulder strap carries everything in one trip up the ladder.
- Attach gear retainers to every hand tool. Gear retainer systems use lanyards and anchor points to keep tools secured to your belt or the roof surface. This prevents drops and reduces replacement costs.
- Clean tools after every use. Roofing sealant, granules, and algae residue degrade tool surfaces and moving parts. Wipe down blades, meters, and camera lenses before storing.
- Inspect safety gear every six months. Check harness webbing, buckles, and anchor hardware for wear, corrosion, or UV damage. Replace any component that shows fraying or cracking.
Budget-friendly tool sets cover the basics for a homeowner who inspects once or twice a year. Professional-grade tools are worth the investment if you manage multiple properties or inspect quarterly. Either way, the roof longevity checklist principle applies: the right tools, used consistently, protect your investment far better than the best tools used once and forgotten.
Pro Tip: Store your toolkit in a climate-controlled space. Florida heat and humidity degrade rubber grips, adhesives, and electronic components faster than in northern climates.
Key takeaways
The most effective roof inspection toolkit combines fall protection, accurate measurement tools, and diagnostic equipment to catch problems early and avoid premature replacement.
| Point | Details |
|---|---|
| Safety gear comes first | A harness, roof anchor, ladder stabilizer, and non-slip footwear are required before any inspection begins. |
| Measure and document everything | A shingle gauge, tape measure, and high-resolution camera create a record that supports repair decisions and warranty claims. |
| Moisture meters prevent costly surprises | Pinless moisture meters detect hidden water damage beneath shingles without cutting or drilling. |
| Maintenance tools outperform replacement tools | Roof rakes, soft brushes, and sealant extend shingle life and delay expensive interventions. |
| Organize and maintain your kit | Gear retainers, regular cleaning, and proper storage keep tools reliable and safe for every inspection. |
What I have learned from watching homeowners inspect their own roofs
The most common mistake I see is homeowners climbing onto the roof with no safety gear and a phone camera, spending ten minutes looking at the surface, and concluding the roof is fine. That approach misses everything that matters. The visible surface of an asphalt shingle tells you maybe 40 percent of the story. The other 60 percent is moisture content, decking integrity, and flashing condition, none of which you can assess with a phone camera and good intentions.
The second mistake is buying tools for replacement instead of tools for maintenance. A homeowner who owns a moisture meter and a roof rake will catch problems years before they require a full tear-off. A homeowner who owns nothing but a ladder will call a roofer the first time they see a stain on the ceiling, at which point the damage is already expensive.
The technology shift in this space is real and worth paying attention to. Compact infrared cameras that once cost thousands of dollars are now available at consumer price points. Combined with a pinless moisture meter, they give a homeowner the same diagnostic picture a professional inspector produces. That changes the math on early intervention significantly.
My honest advice: build your toolkit in three stages. Start with safety gear, because nothing else matters if you fall. Add measurement and documentation tools next. Then invest in a moisture meter once you are comfortable with the inspection process. That sequence keeps costs manageable and builds your confidence with each inspection.
Document every inspection with photos and notes, even when everything looks fine. That record becomes valuable the moment you need to make a repair decision, file an insurance claim, or sell the property. A roof with a documented maintenance history is a selling point. A roof with no history is a liability.
— Daniellison
Your roof may qualify for renewal before replacement
South Florida homeowners who complete a thorough inspection often discover their roof has more life left than they expected. Shingleroofrenewal specializes in exactly that situation. We are not roofers and we are not roof cleaners. We are the team you call before you call the roofer.
Shingleroofrenewal's certified Fresh Roof Green Soy Technology restores shingle flexibility at the molecular level, locks in granules, and extends qualifying roof life by 10–15 years, backed by a 6-year transferable warranty. If your inspection reveals dry, brittle, or curling shingles in Broward or Palm Beach County, your roof may still be a candidate for preservation instead of replacement. Schedule a free assessment and find out if you can save thousands before committing to a full tear-off.
FAQ
What tools are needed for a basic roof inspection?
A basic roof inspection requires a shingle gauge, 25-foot tape measure, pry bar, flashlight or high-resolution camera, and personal protective equipment including a ladder stabilizer and non-slip gloves. These five to seven items cover the core requirements for a safe and accurate visual inspection.
How does a pinless moisture meter help during a roof inspection?
A pinless moisture meter scans wood decking and insulation beneath shingles without cutting or drilling, detecting hidden water intrusion before it causes structural damage. Used alongside a visual inspection, it reveals problems that surface checks miss entirely.
What safety gear is required for inspecting a South Florida roof?
Fall protection is required for any roof inspection, including a roof anchor, harness, lifeline, ladder stabilizer, non-slip footwear, and gloves. South Florida's steep roof pitches and dry, granule-depleted shingles make falls a serious risk even during brief inspections.
How often should a homeowner inspect their asphalt shingle roof in Florida?
Florida's sun, heat, and storm cycles accelerate shingle wear, making twice-yearly inspections the recommended standard, ideally before and after hurricane season. Regular inspections catch granule loss, cracking, and moisture intrusion early, when preservation is still possible.
Can the right tools help me avoid a full roof replacement?
Yes. Moisture meters and infrared cameras identify problems early enough for targeted repairs or preservation treatments. Shingleroofrenewal's roof renewal services help homeowners determine whether their roof qualifies for restoration rather than full replacement, potentially saving thousands of dollars.