
Prioritize these six roof-care actions to cut leak risk and extend shingle life: schedule biannual inspections, clean gutters and drainage, check attic ventilation, inspect and seal flashings, secure loose shingles and fasteners, and manage debris and moss. These are your roof care maintenance priorities in order of urgency and impact. Get them right, and you can add years to a roof that might otherwise be headed for a $15,000–$30,000 replacement.
Your next 24–72 hours:
- Walk the perimeter and look for shingle damage, granule buildup in gutters, and visible flashing gaps.
- Clear any debris from gutters and downspouts.
- Check your attic for moisture, staining, or inadequate airflow.
- Note anything that looks off and photograph it before you touch anything.
Pro Tip: Take timestamped photos every time you inspect. That photo log becomes your best evidence for warranty claims, insurance adjustments, and preservation eligibility assessments.
Key Takeaways
Preventive roof maintenance, prioritized by urgency and executed on a biannual schedule, is the single most effective way to extend shingle life and avoid premature replacement.
| Point | Details |
|---|---|
| Inspect twice a year | Schedule spring and fall inspections, plus an immediate check after any severe storm. |
| Gutters and ventilation first | Water management and attic airflow are the highest-impact maintenance tasks for shingle lifespan. |
| Never power-wash shingles | Concentrated spray removes granules and can void manufacturer warranties; use chemical treatment instead. |
| Preservation beats replacement | Structurally sound roofs with surface aging may qualify for renewal, adding years of life at a fraction of replacement cost. |
| Shingleroofrenewal | Offers free 20–25 point diagnostic inspections and certified preservation treatment for qualifying roofs in Broward and Palm Beach counties. |
Table of Contents
- How often should you inspect your roof?
- Your prioritized roof care checklist, task by task
- Which tasks are safe to DIY and which need a professional?
- What a thorough professional inspection covers
- Your seasonal maintenance schedule
- What preventive maintenance actually costs, and what it saves you
- When preservation is a real option instead of replacement
- What most homeowners get wrong about roof maintenance
- Your free roof assessment from Shingleroofrenewal
- Sources
How often should you inspect your roof?
The standard cadence is twice a year: once in spring after winter weather, and again in fall before storm season ramps up. Biannual inspections in spring and fall, combined with targeted checks of ventilation, gutters, and flashing, help catch minor issues before they become expensive repairs. Biannual inspections in spring and fall help catch minor issues before they become expensive repairs.
Beyond the calendar, certain events demand an out-of-cycle check immediately:
- After any storm with hail, winds above 50 mph, or falling tree limbs
- Following a neighbor's confirmed roof damage (same storm, same exposure)
- Before or after any warranty-related work by a contractor
- When you notice interior water stains, even faint ones
Industry guidance from the NAHB recommends a qualified inspector assess your roof at least every three years, covering skylights, flashing, and gutters as part of that check. That professional cadence complements your own seasonal walkthroughs, not replaces them.
Facilities managers who schedule biannual inspections and preventive programs consistently see lower lifecycle roofing costs and fewer emergency failures. The same logic applies to a single-family home.
Pro Tip: Keep a simple roof log in a notes app or spreadsheet. Date, weather conditions, what you checked, what you found, and photos attached. If you ever file an insurance claim or pursue preservation, that record is worth its weight.
Your prioritized roof care checklist, task by task
Work through these in order. The tasks at the top carry the highest risk if delayed.
1. Gutters and drainage
Water that cannot drain off your roof will find another way in. Clogged gutters back up against the fascia, saturate the roof deck, and create the conditions for rot and interior leaks. Clean gutters regularly, especially after major storms. Check that downspouts discharge clear of the foundation.
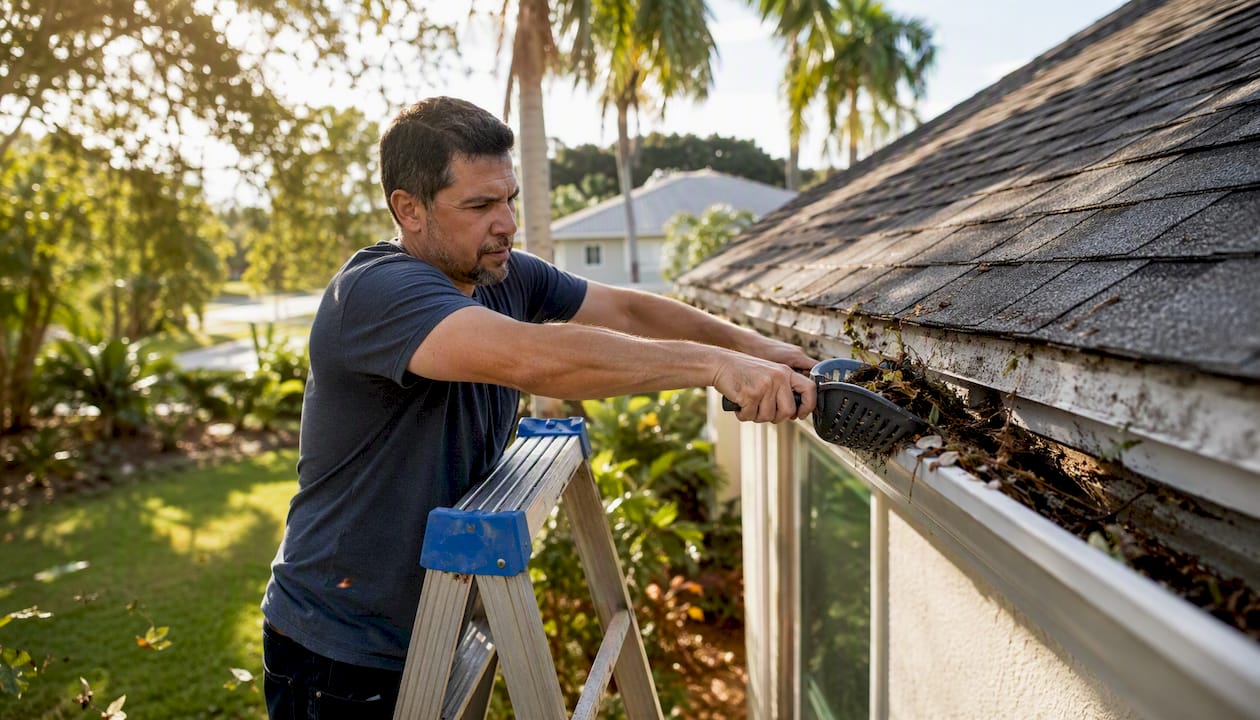
Safe DIY scope: clearing debris by hand or with a gutter scoop, flushing with a garden hose, checking downspout flow.
When to call a pro: gutters pulling away from the fascia, visible rot on the fascia board, or standing water on flat sections of roof.
2. Attic ventilation and insulation
Poor attic ventilation is one of the highest-impact factors on shingle lifespan. Heat trapped in an under-ventilated attic cooks shingles from below, accelerating brittleness and granule loss. Addressing ventilation to meet IRC R806 standards can yield a 30–50% lifespan improvement in some conditions. That is not a minor gain.
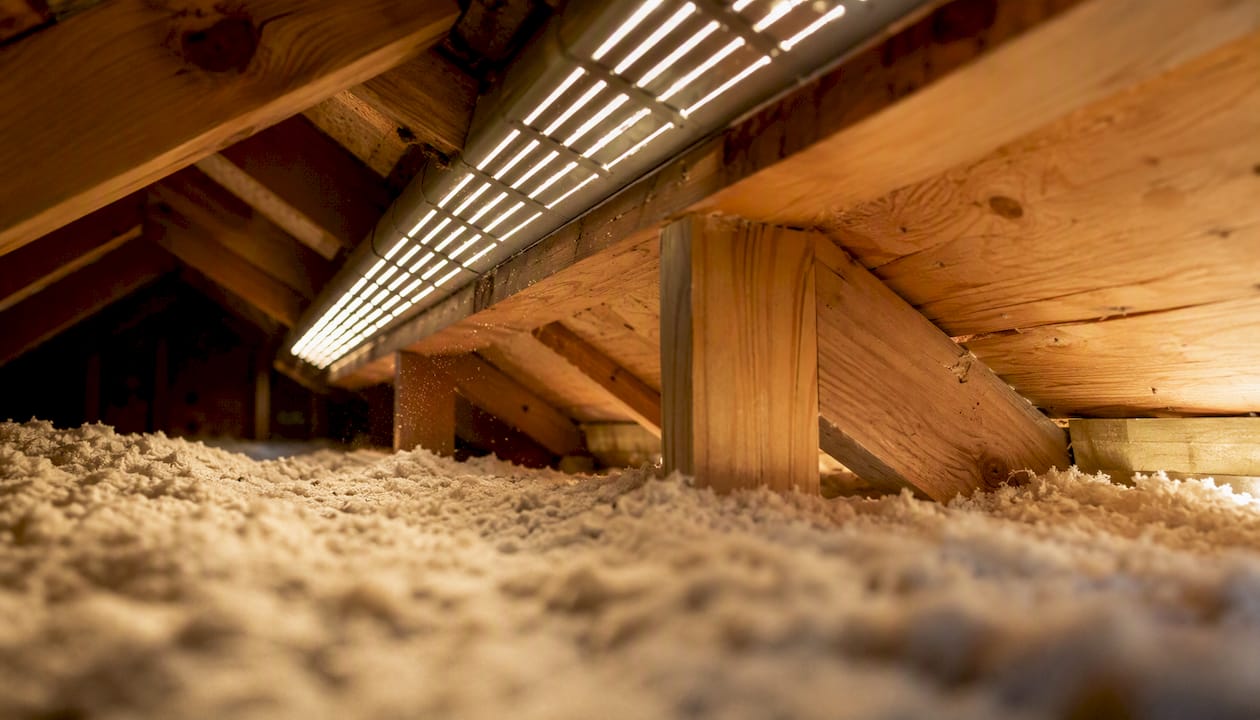
Check that soffit vents are not blocked by insulation, that ridge vents are clear, and that your attic has no moisture staining on the sheathing. Proper insulation also prevents ice dams in colder climates.
Safe DIY scope: visual check of soffit and ridge vents, confirming insulation does not block airflow.
When to call a pro: moisture staining, mold on sheathing, or a ventilation ratio that does not meet IRC R806 (1:150 net free ventilation area without a vapor barrier, or 1:300 with one).
3. Flashing and penetrations
Flashing seals the joints where your roof meets walls, chimneys, skylights, and vents. These are the spots where water most often finds a path inside. Cracked caulk, lifted metal, or corroded flashing around a chimney can cause a leak that looks like it is coming from somewhere else entirely.
Inspect every penetration point. Look for gaps, rust, lifted edges, and dried-out sealant. Reapply roofing sealant where caulk has cracked or pulled away from the surface.
Safe DIY scope: applying fresh roofing sealant to small cracks in existing caulk joints.
When to call a pro: lifted or separated metal flashing, any flashing around a chimney that shows rust or separation, or a skylight with visible water intrusion.
4. Shingles and fasteners
Loose, cracked, or curling shingles expose the decking underneath. Nail pops, where fasteners back out over time, create small entry points that grow with each rain. Walk the perimeter and scan the roof surface for shingles that look lifted, cupped, or missing.
Safe DIY scope: spotting and photographing problem shingles, pressing down a slightly lifted tab and applying roofing cement underneath.
When to call a pro: missing shingles, widespread curling, granule loss visible in gutters or on the ground, or any shingle that crumbles when touched.
5. Debris and moss removal
Leaves, pine needles, and organic debris hold moisture against shingles and accelerate deterioration. Moss and algae go further: moss roots physically lift shingle tabs, while algae staining signals moisture retention.
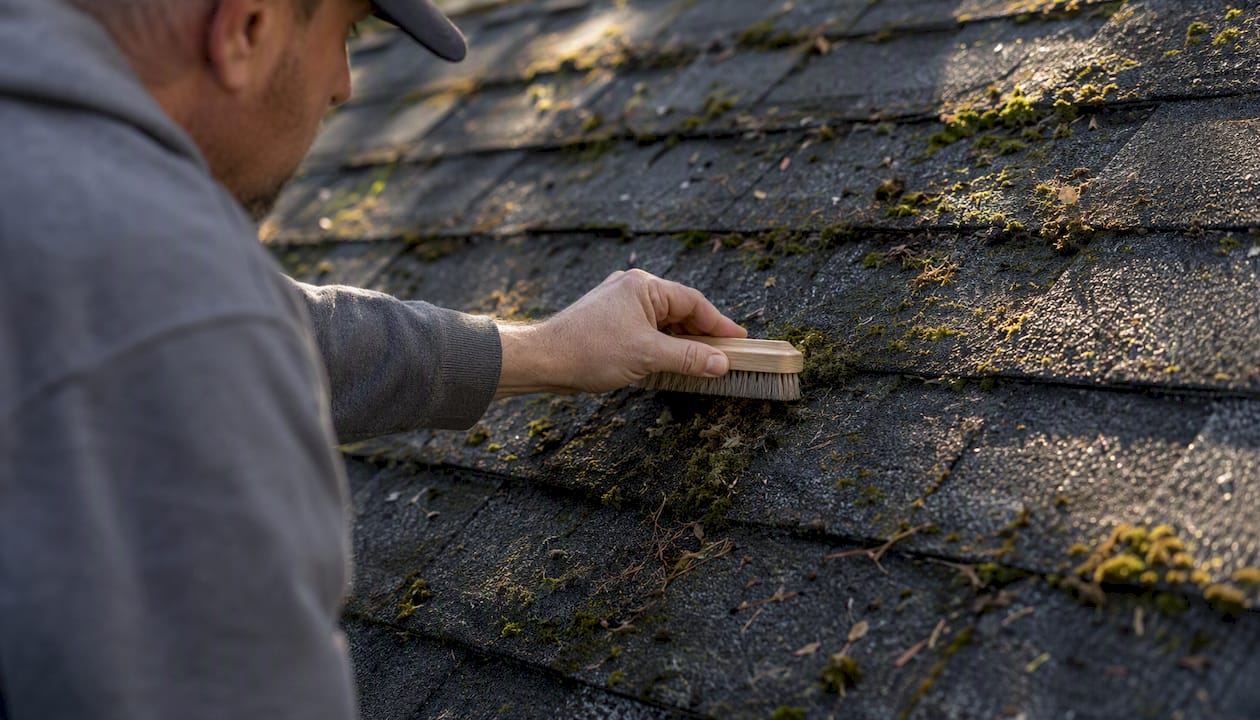
Remove debris manually or with a soft-bristle brush. For moss, apply a zinc- or copper-based treatment and let it work over several weeks. Never power-wash shingles. Concentrated spray strips granules and can void manufacturer warranties. Low-pressure rinsing or gentle chemical treatment is the correct approach.
Safe DIY scope: manual debris removal, applying a moss-treatment product from a ladder.
When to call a pro: widespread moss coverage, black algae streaking across most of the roof surface, or any debris removal that requires walking the roof.
6. Tree and overhang management
Overhanging branches scrape shingles in the wind, deposit debris constantly, and give squirrels a bridge to your roof. Trim branches so they clear the roof surface by at least six feet. After a storm, check for any limbs resting on or near the roof.
Safe DIY scope: trimming small branches with a pole saw from the ground or a stable ladder.
When to call a pro: large limbs over the roof, any branch that has already made contact with shingles, or trees that lean toward the structure.
Pro Tip: A do-vs-don't summary: do clean gutters manually, do apply roofing sealant to small cracks, do use chemical moss treatments. Don't power-wash, don't walk a steep or wet roof without fall protection, and don't ignore a nail pop for more than one season.
Which tasks are safe to DIY and which need a professional?
The quick answer: ground-level and ladder-accessible tasks with no structural risk are generally safe for a careful homeowner. Anything involving the roof surface itself, structural components, or warranty-sensitive work belongs with a qualified professional.
Low-risk DIY tasks:
- Gutter cleaning and downspout flushing
- Visual inspection from the ground or a stable ladder
- Applying roofing sealant to small caulk cracks at penetrations
- Applying moss or algae treatment products
- Trimming nearby branches
Pro-only jobs:
- Replacing or re-nailing shingles
- Reflashing a chimney, skylight, or wall junction
- Any work on a roof with a pitch above 6:12 without proper fall protection
- Structural repairs to decking or rafters
- Any task that could affect a manufacturer's warranty
Warranty and insurance considerations matter here. Many shingle manufacturers require that repairs be performed by a licensed contractor to keep the warranty valid. If you attempt a repair yourself and it fails, you may lose coverage on the surrounding materials. Check your warranty documentation before picking up a caulk gun.
Red flags that mean call a pro today:
- Active interior leaks or water stains on ceilings
- Sagging or soft spots on the roof surface
- Widespread granule loss visible in gutters
- Multiple failed flashings across the roof
- A roof older than 15 years showing surface aging without any prior maintenance
Pro Tip: Before hiring anyone, ask for proof of license, insurance, and manufacturer certification. A certified applicator has training the average contractor does not, and that certification protects your warranty.
What a thorough professional inspection covers
A complete professional diagnostic typically covers 20–25 checkpoints across every system that affects roof performance. Here is what a qualified inspector examines and what each finding means for urgency:
| Checkpoint | What the inspector looks for | Priority level |
|---|---|---|
| Shingle condition | Cracking, curling, granule loss, brittleness | Urgent if widespread |
| Flashing integrity | Gaps, rust, lifted edges at all penetrations | Urgent if separated |
| Attic ventilation | Airflow ratio, moisture staining, insulation blockage | High if IRC R806 not met |
| Decking condition | Soft spots, rot, delamination | Urgent if structural |
| Gutter and drainage | Blockage, slope, fascia condition | Moderate to high |
| Skylight seals | Caulk condition, frame integrity | Moderate |
| Ridge and hip condition | Lifted caps, exposed nails | Moderate |
| Valleys | Debris accumulation, flashing wear | High in heavy-rain areas |
| Penetration seals | Pipe boots, vent collars, caulk condition | Moderate to high |
| Attachment quality | Nail pattern, wind uplift resistance | High in storm-prone areas |
Inspectors typically assign each finding a priority rating: Safety/Urgent (fix within days), Repair (fix within 30–90 days), Monitor (recheck at next inspection), or Low Priority (cosmetic or early-stage).
A photo report documents each checkpoint with timestamped images. Photos of valleys, flashing joints, the attic interior, and gutters give you a baseline record. That documentation also determines whether your roof qualifies for preservation rather than replacement, a distinction that can save you tens of thousands of dollars.
Pro Tip: Ask your inspector to photograph the attic sheathing specifically. Moisture staining there is often the earliest sign of a ventilation or flashing problem, and it shows up before any interior leak becomes visible.
Your seasonal maintenance schedule
One rule covers the whole year: inspect in spring and fall, prepare for storms in summer, and prevent moisture damage in winter. Here is what each season actually requires.
Spring
- Complete your biannual inspection after winter weather
- Clean gutters and downspouts of winter debris
- Check flashing and sealants for freeze-thaw cracking
- Look for shingles lifted or displaced by wind
- Treat any moss or algae growth before it spreads
Summer
- Trim overhanging branches before peak storm season
- Inspect and clear gutters after heavy rain events
- Check attic temperatures; excessive heat signals ventilation problems
- Prepare a post-storm inspection checklist so you can act quickly after severe weather
Fall
- Complete your second biannual inspection before winter
- Clear all debris from gutters, valleys, and flat sections
- Seal any open penetrations or caulk cracks before cold weather sets in
- Confirm attic insulation is not blocking soffit vents
Winter (colder climates)
- Watch for ice dam formation at eaves, a sign of heat loss through the roof deck
- After heavy snow, use a roof rake from the ground to reduce load on older structures
- Check attic for condensation or frost on sheathing
For South Florida homeowners in Broward and Palm Beach counties, the seasonal calculus shifts. Ice dams are not a concern, but UV degradation, algae growth, and hurricane-season wind uplift are. A seasonal checklist timed to South Florida's weather patterns prioritizes storm prep in June through November and algae treatment in the humid spring months. The South Florida roof care workflow covers those regional priorities in detail.
What preventive maintenance actually costs, and what it saves you
Preventive maintenance costs a fraction of replacement and typically avoids repairs that cost ten times more. Here is a realistic cost range for common tasks:
- Gutter cleaning: $100–$250 per visit (professional service)
- Minor flashing repair or re-caulking: $150–$400
- Professional inspection with photo report: $150–$400
- Attic ventilation upgrade: $300–$1,200 depending on scope
- Moss or algae treatment: $200–$500 for a professional application
- Shingle roof preservation treatment: significantly less than full replacement, with costs varying by roof size and condition
Compare those numbers to a full asphalt shingle replacement, which typically runs $15,000–$30,000 for a standard residential roof. Preventive maintenance programs reduce total lifecycle roofing costs by catching small failures before they cascade into structural damage or interior water intrusion.
A practical example: a homeowner who catches a failed pipe boot seal during a fall inspection pays $150–$300 to re-seal it. Left unaddressed through a wet season, that same failure can saturate the decking beneath, requiring a deck repair plus shingle replacement in that section, often $1,500–$3,000 or more.
Budget for maintenance the same way you budget for HVAC service: annually, with a set amount per year. For most homes, $300–$600 per year covers two professional gutter cleanings, one inspection, and minor sealant work. That annual spend is the most cost-effective shingle lifespan extension method available to any homeowner.
Pro Tip: Ask your inspector whether a preservation treatment makes sense at your next visit. For a structurally sound roof showing surface aging, a preservation application can add years of service at a cost well below replacement.
When preservation is a real option instead of replacement
Preservation works when the roof is structurally sound but showing surface-level aging. The goal is to restore shingle flexibility, lock in granules, and extend service life before deterioration reaches the point of no return.
Eligibility checklist:
- Roof is structurally sound with no sagging or soft decking
- Shingles are aging but not yet brittle or crumbling
- Granule loss is present but not severe enough to expose the mat
- Fewer than two or three active leak points
- Flashing failures are limited and repairable
- Attic ventilation is adequate or can be corrected
Questions to ask a preservation specialist:
- Does my roof meet the structural and surface criteria for treatment?
- What is the expected life extension, and what does the warranty cover?
- Is the warranty transferable if I sell the home?
- What maintenance is required after treatment to keep the warranty valid?
- When would reapplication be needed?
Preservation can add 5–15 years of service life on many qualifying roofs. Roof preservation is a cost-effective alternative to replacement for structurally sound roofs, reducing both project cost and landfill waste from unnecessary tear-offs. The benefits of sustainable roof care extend beyond cost savings: keeping an existing roof out of the landfill is a meaningful environmental outcome.
Red flags that usually mean replacement, not preservation:
- Widespread structural damage or sagging
- Decking rot across multiple sections
- Shingles that crumble on contact
- More than three or four active leak points
- A roof past its expected service life with no prior maintenance history
Pro Tip: Get a written eligibility assessment before committing to either preservation or replacement. A qualified specialist can tell you within one inspection whether your roof is a candidate, and that assessment costs far less than a replacement quote you may not need.
What most homeowners get wrong about roof maintenance
Most homeowners treat the roof as a set-it-and-forget-it system. They call a roofer when something leaks, spend $15,000–$30,000 on a replacement, and repeat the cycle in 15 years. What they miss is the window between "aging roof" and "failed roof," and that window is where real savings live.
The conventional wisdom says: wait until there is a problem, then fix it. That approach works for appliances. It does not work for roofs, because by the time a leak is visible inside the house, the damage has usually been building for months. The decking is wet, the insulation is compromised, and what started as a $200 flashing repair has become a $3,000 deck replacement.
The smarter approach is system-level thinking. Ventilation, drainage, and flashing are not separate maintenance items. They are one interconnected system, and a failure in any one of them accelerates aging in the others. A clogged gutter raises moisture levels at the eave, which stresses the flashing, which lets water into the decking, which raises attic humidity, which cooks the shingles from below. Fix the gutter, and you interrupt that chain before it starts.
South Florida homeowners face a compressed version of this problem. The combination of UV intensity, heat, humidity, and storm frequency means shingles age faster here than in most of the country. Early intervention, specifically catching granule loss and brittleness before they become structural problems, is the difference between a preservation candidate and a roof that needs full replacement.
Your free roof assessment from Shingleroofrenewal
Most South Florida homeowners do not know their roof can still be saved. Shingleroofrenewal gives you a clear answer before you spend a dollar on replacement.

A free assessment from Shingleroofrenewal includes a 20–25 point diagnostic inspection with a photo report, a written preservation eligibility recommendation, and a clear explanation of your options. If your roof qualifies for renewal using certified Fresh Roof Green Soy Technology, you could save significantly compared to full replacement, backed by a 6-year transferable warranty. The process is straightforward: we inspect, we assess, and we tell you honestly whether preservation makes sense for your home.
Shingleroofrenewal serves homeowners in Broward and Palm Beach counties. Schedule your free roof inspection and find out if your roof qualifies before you call a roofer.
Sources
- Annual Maintenance and Roofing Tips for Every Homeowner
- Ways to help a roof last longer
- Routine home maintenance
- Roof Maintenance: Top-Level Priority
- Roof maintenance checklist for every season | Homeowner guide